

Sewing a Tote Bag
Last Fibre Friday, I shared how I was teaching my daughter to sew as I learn right along with her (she is 10 years old). We started working on a tote bag together and had cut out all the pieces in my last post.
My daughter had a great time exploring all the fancy stitches that are possible on our machine when we made a tea towel and handkerchiefs. She decided to use a fancy stitch to embellish the pocket of the tote:

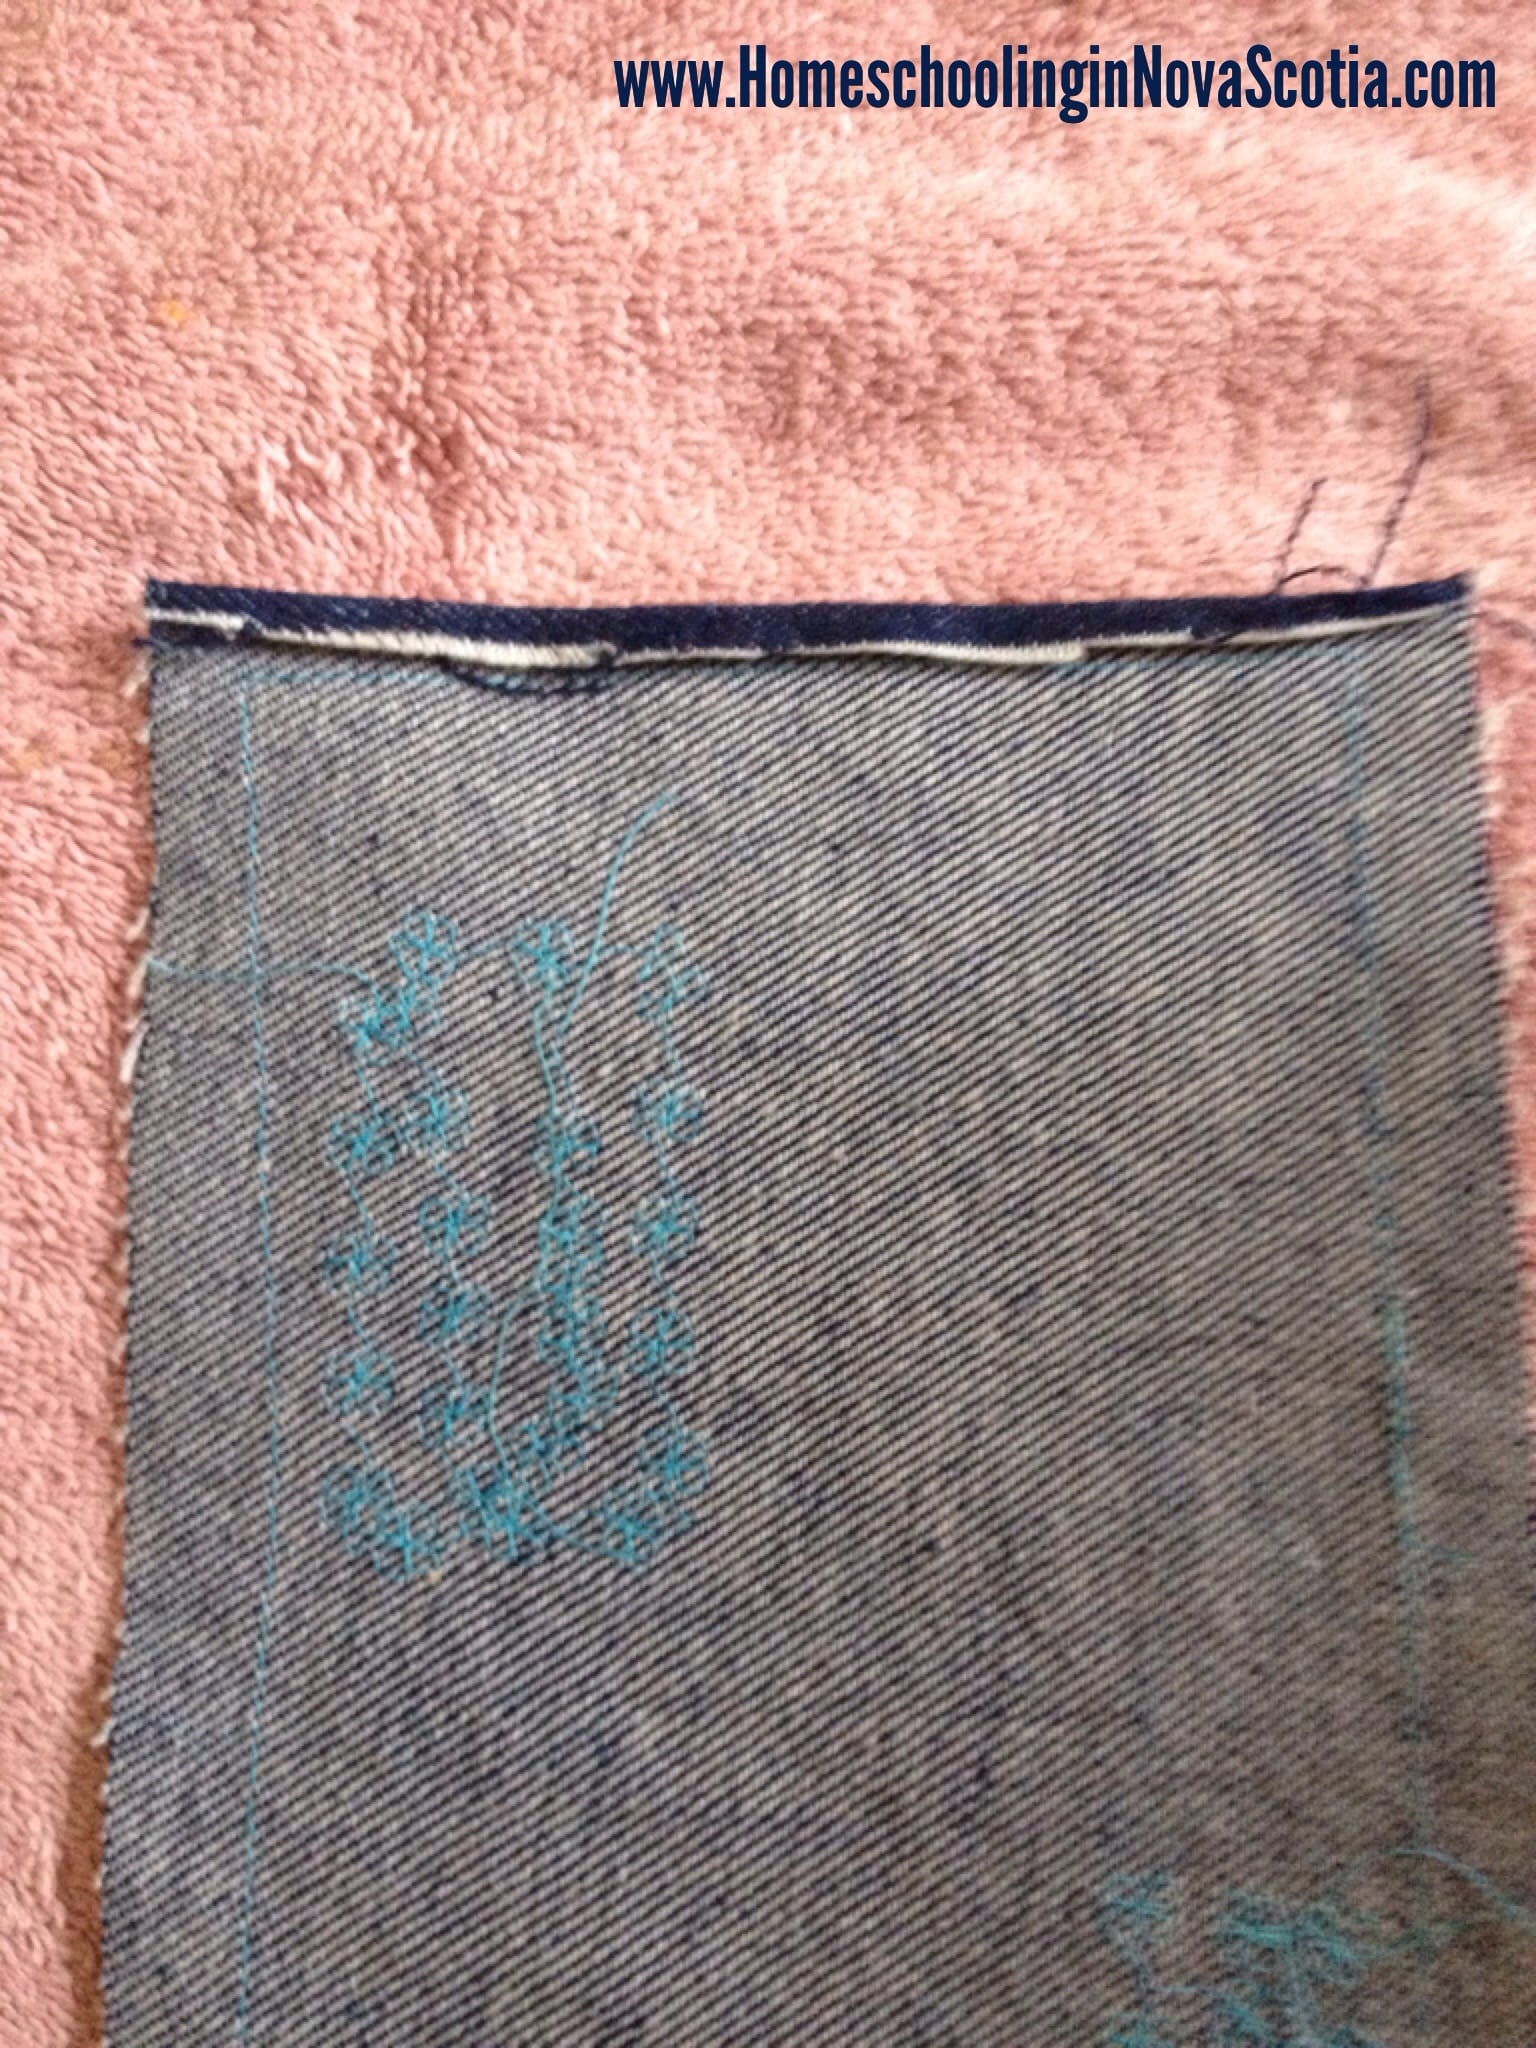
I had never sewn a pocket before and found the instructions a bit mystifying. We read them together a few times and eventually figured it out. First we pressed back the fabric at the top with an iron:
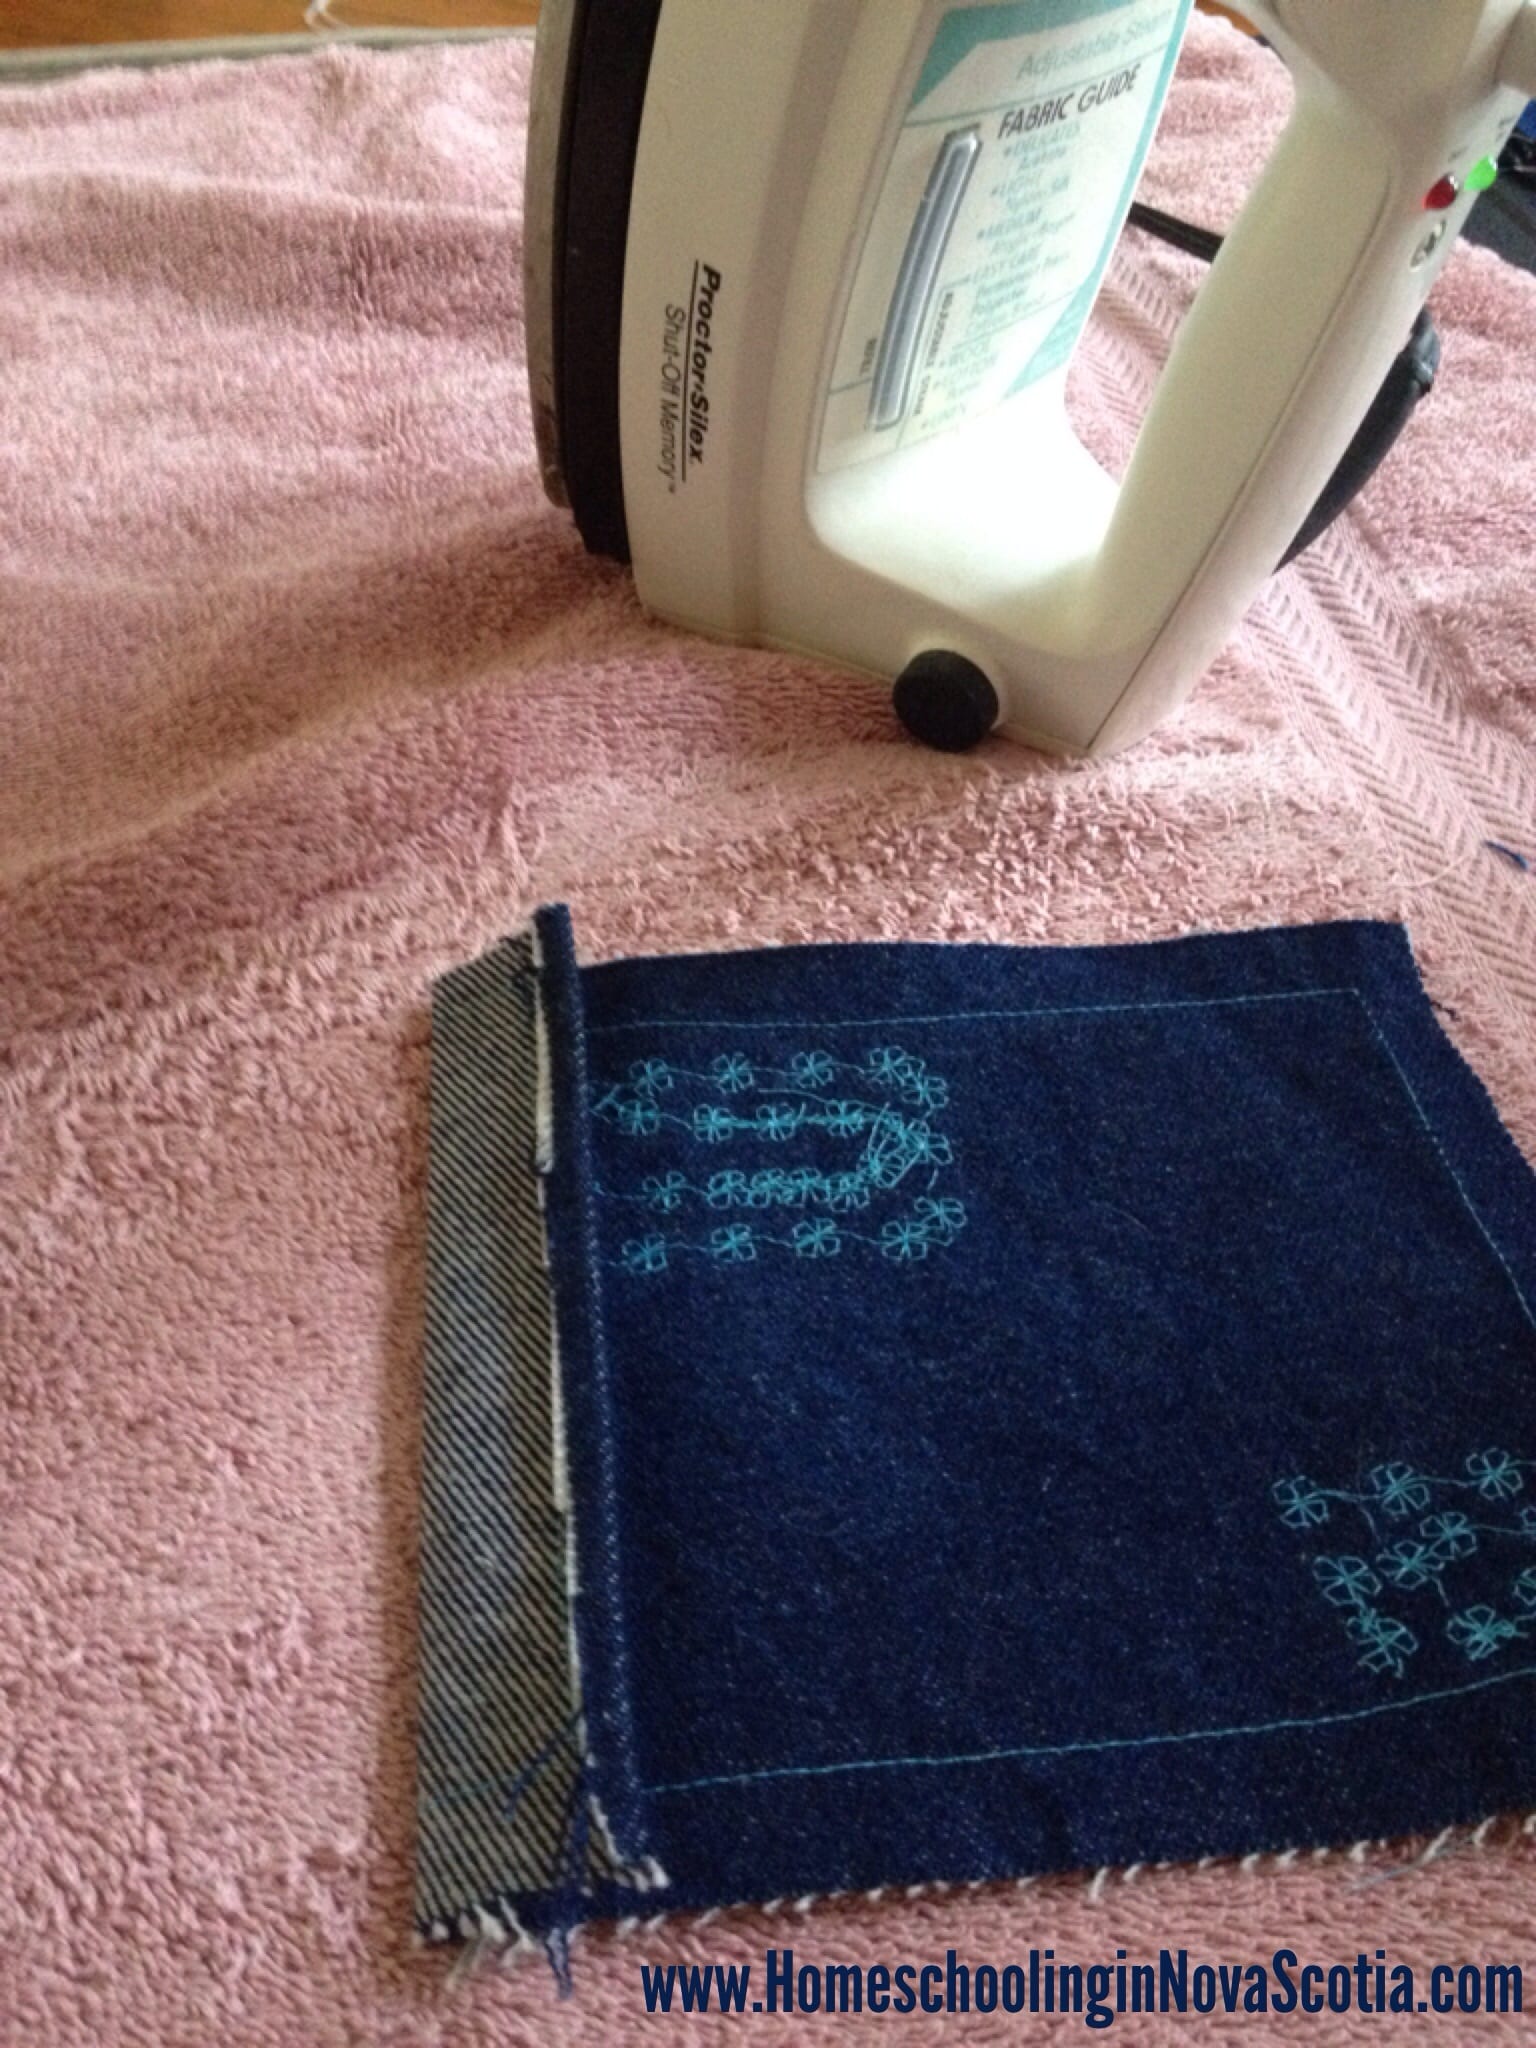
Then we flipped it over, folded it over, and pressed it again:
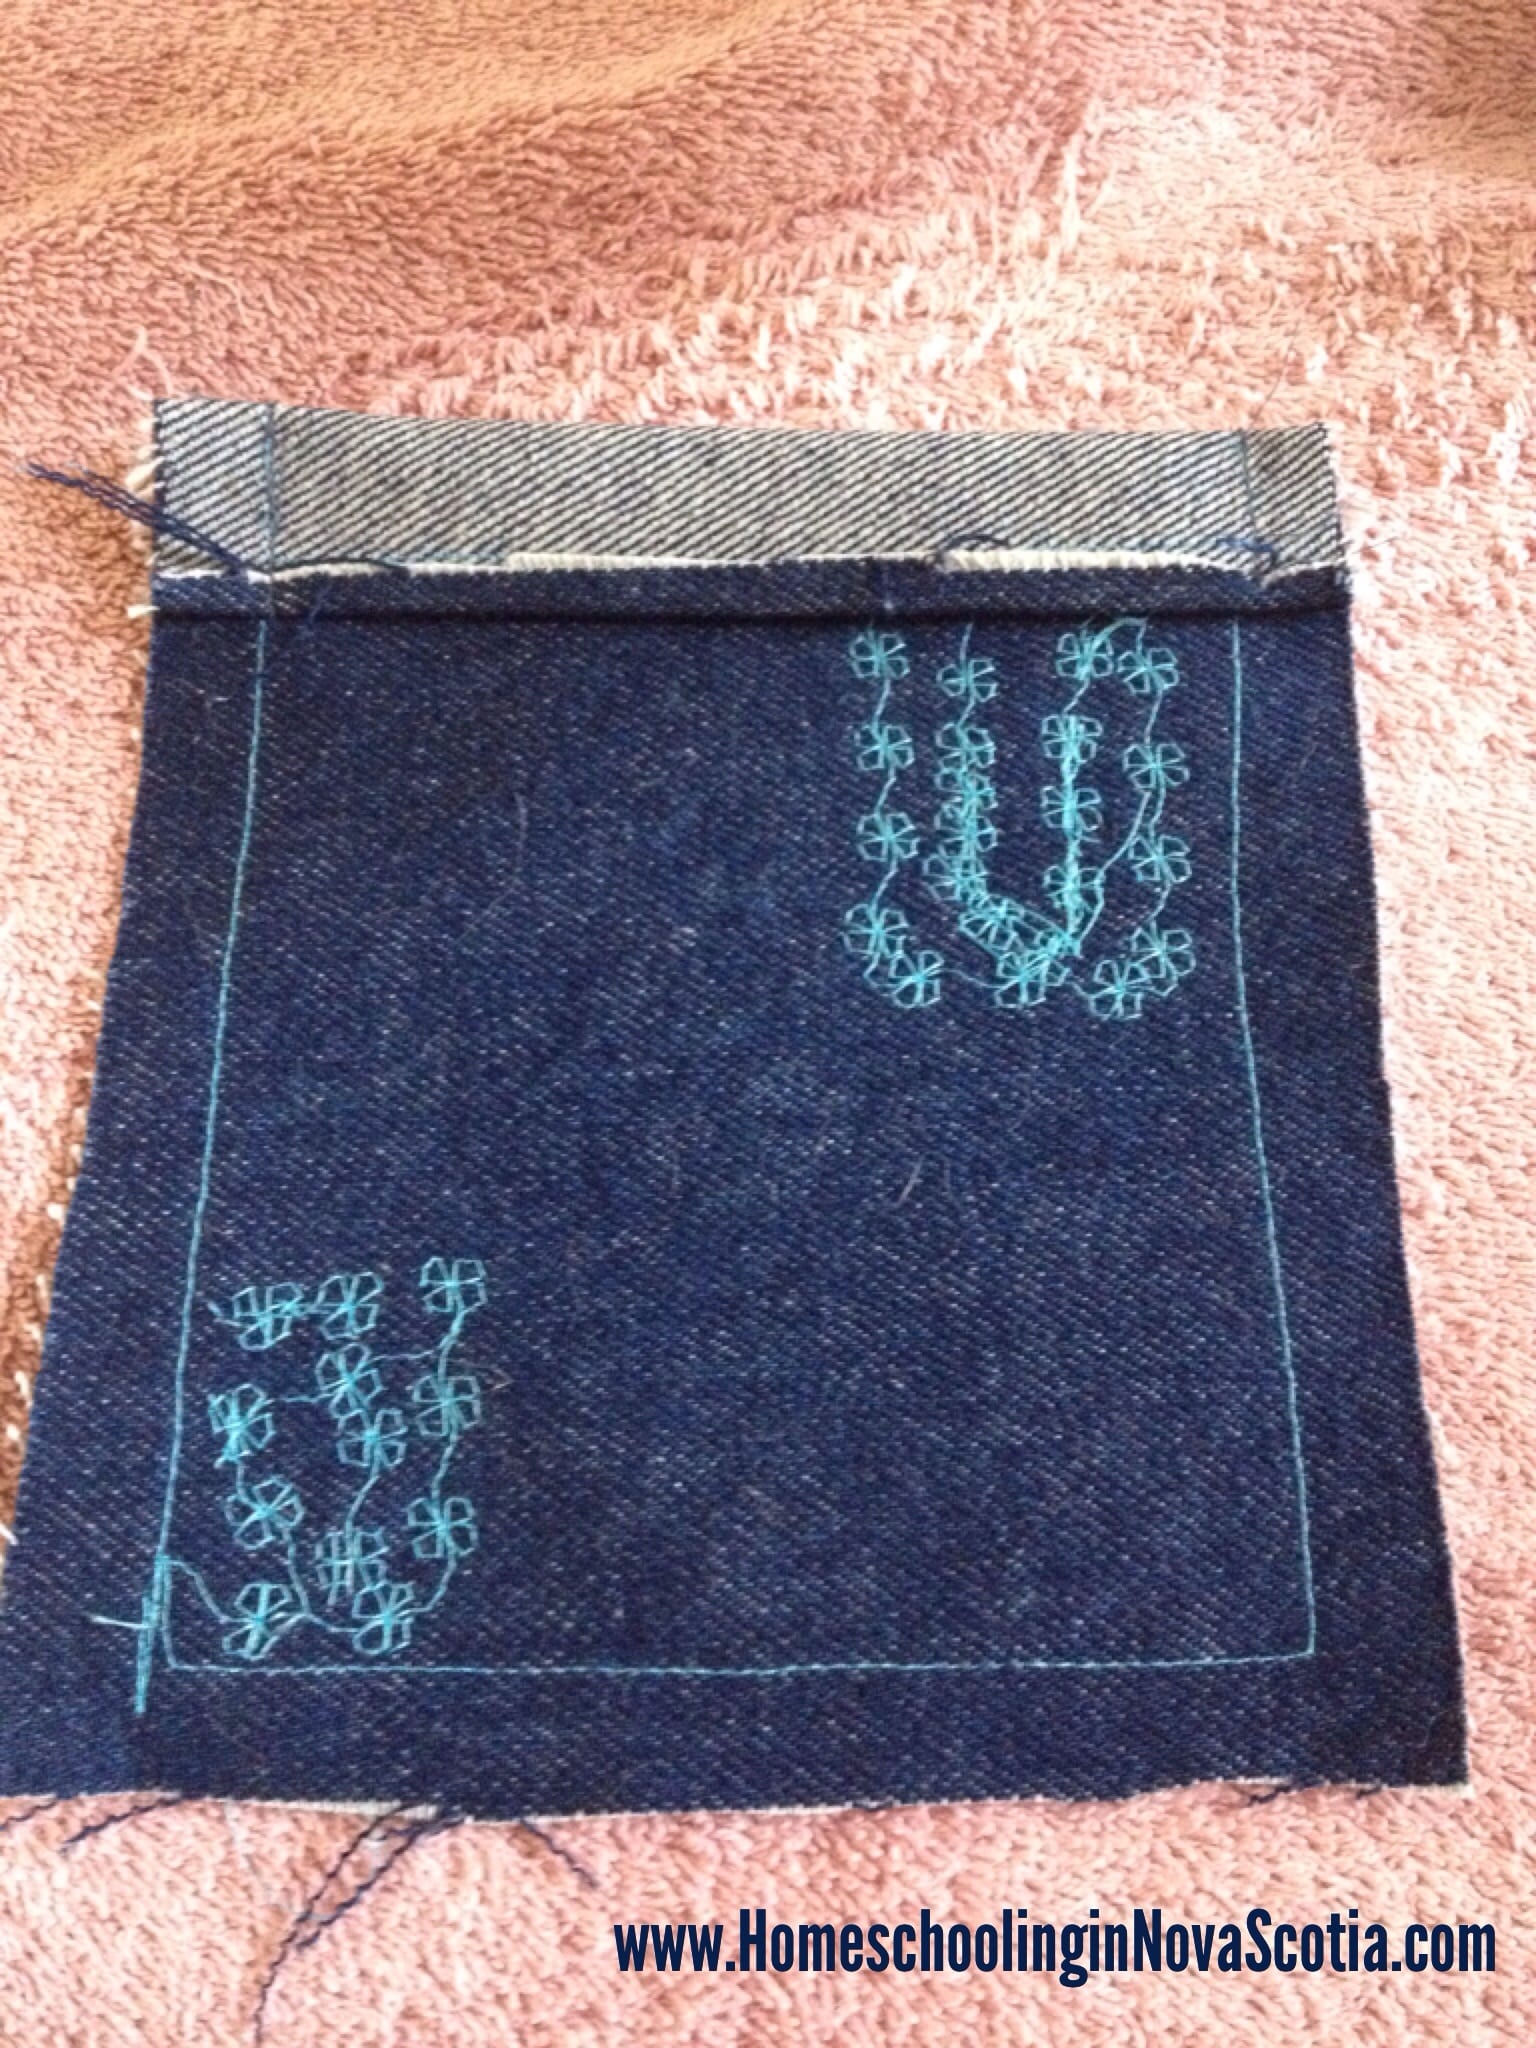
Finally we got to the sewing part, which is always so much faster than all the pressing:
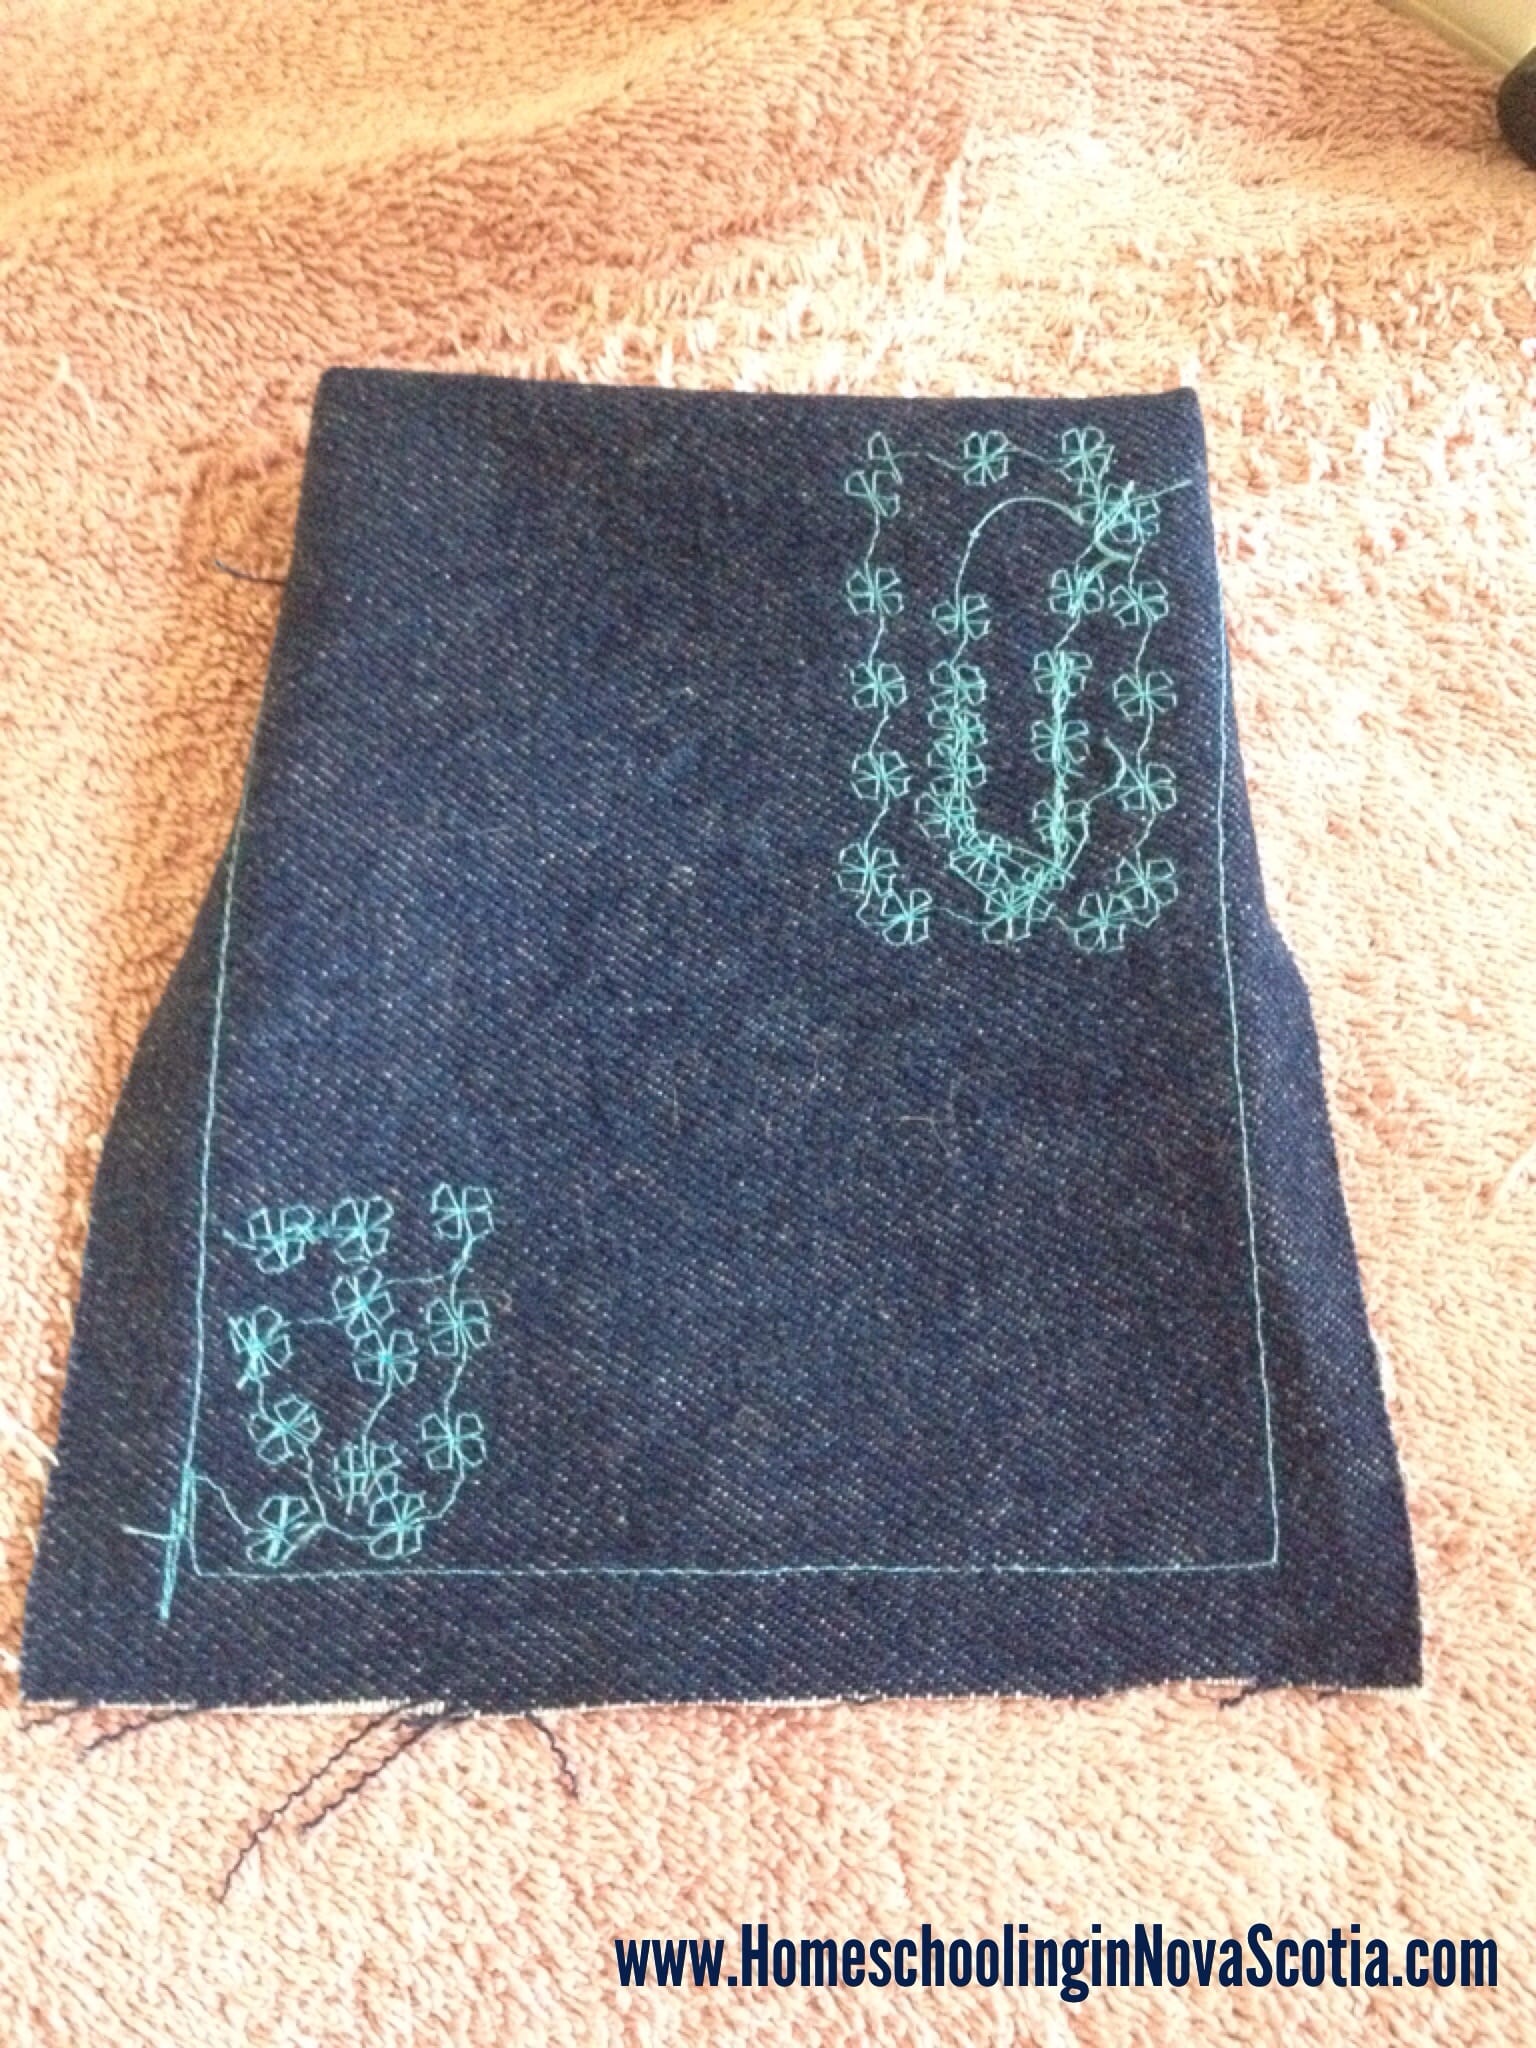
The pocket had to be flipped inside out. And then of course more pressing, under this time so the pocket could be sewn on the bag:
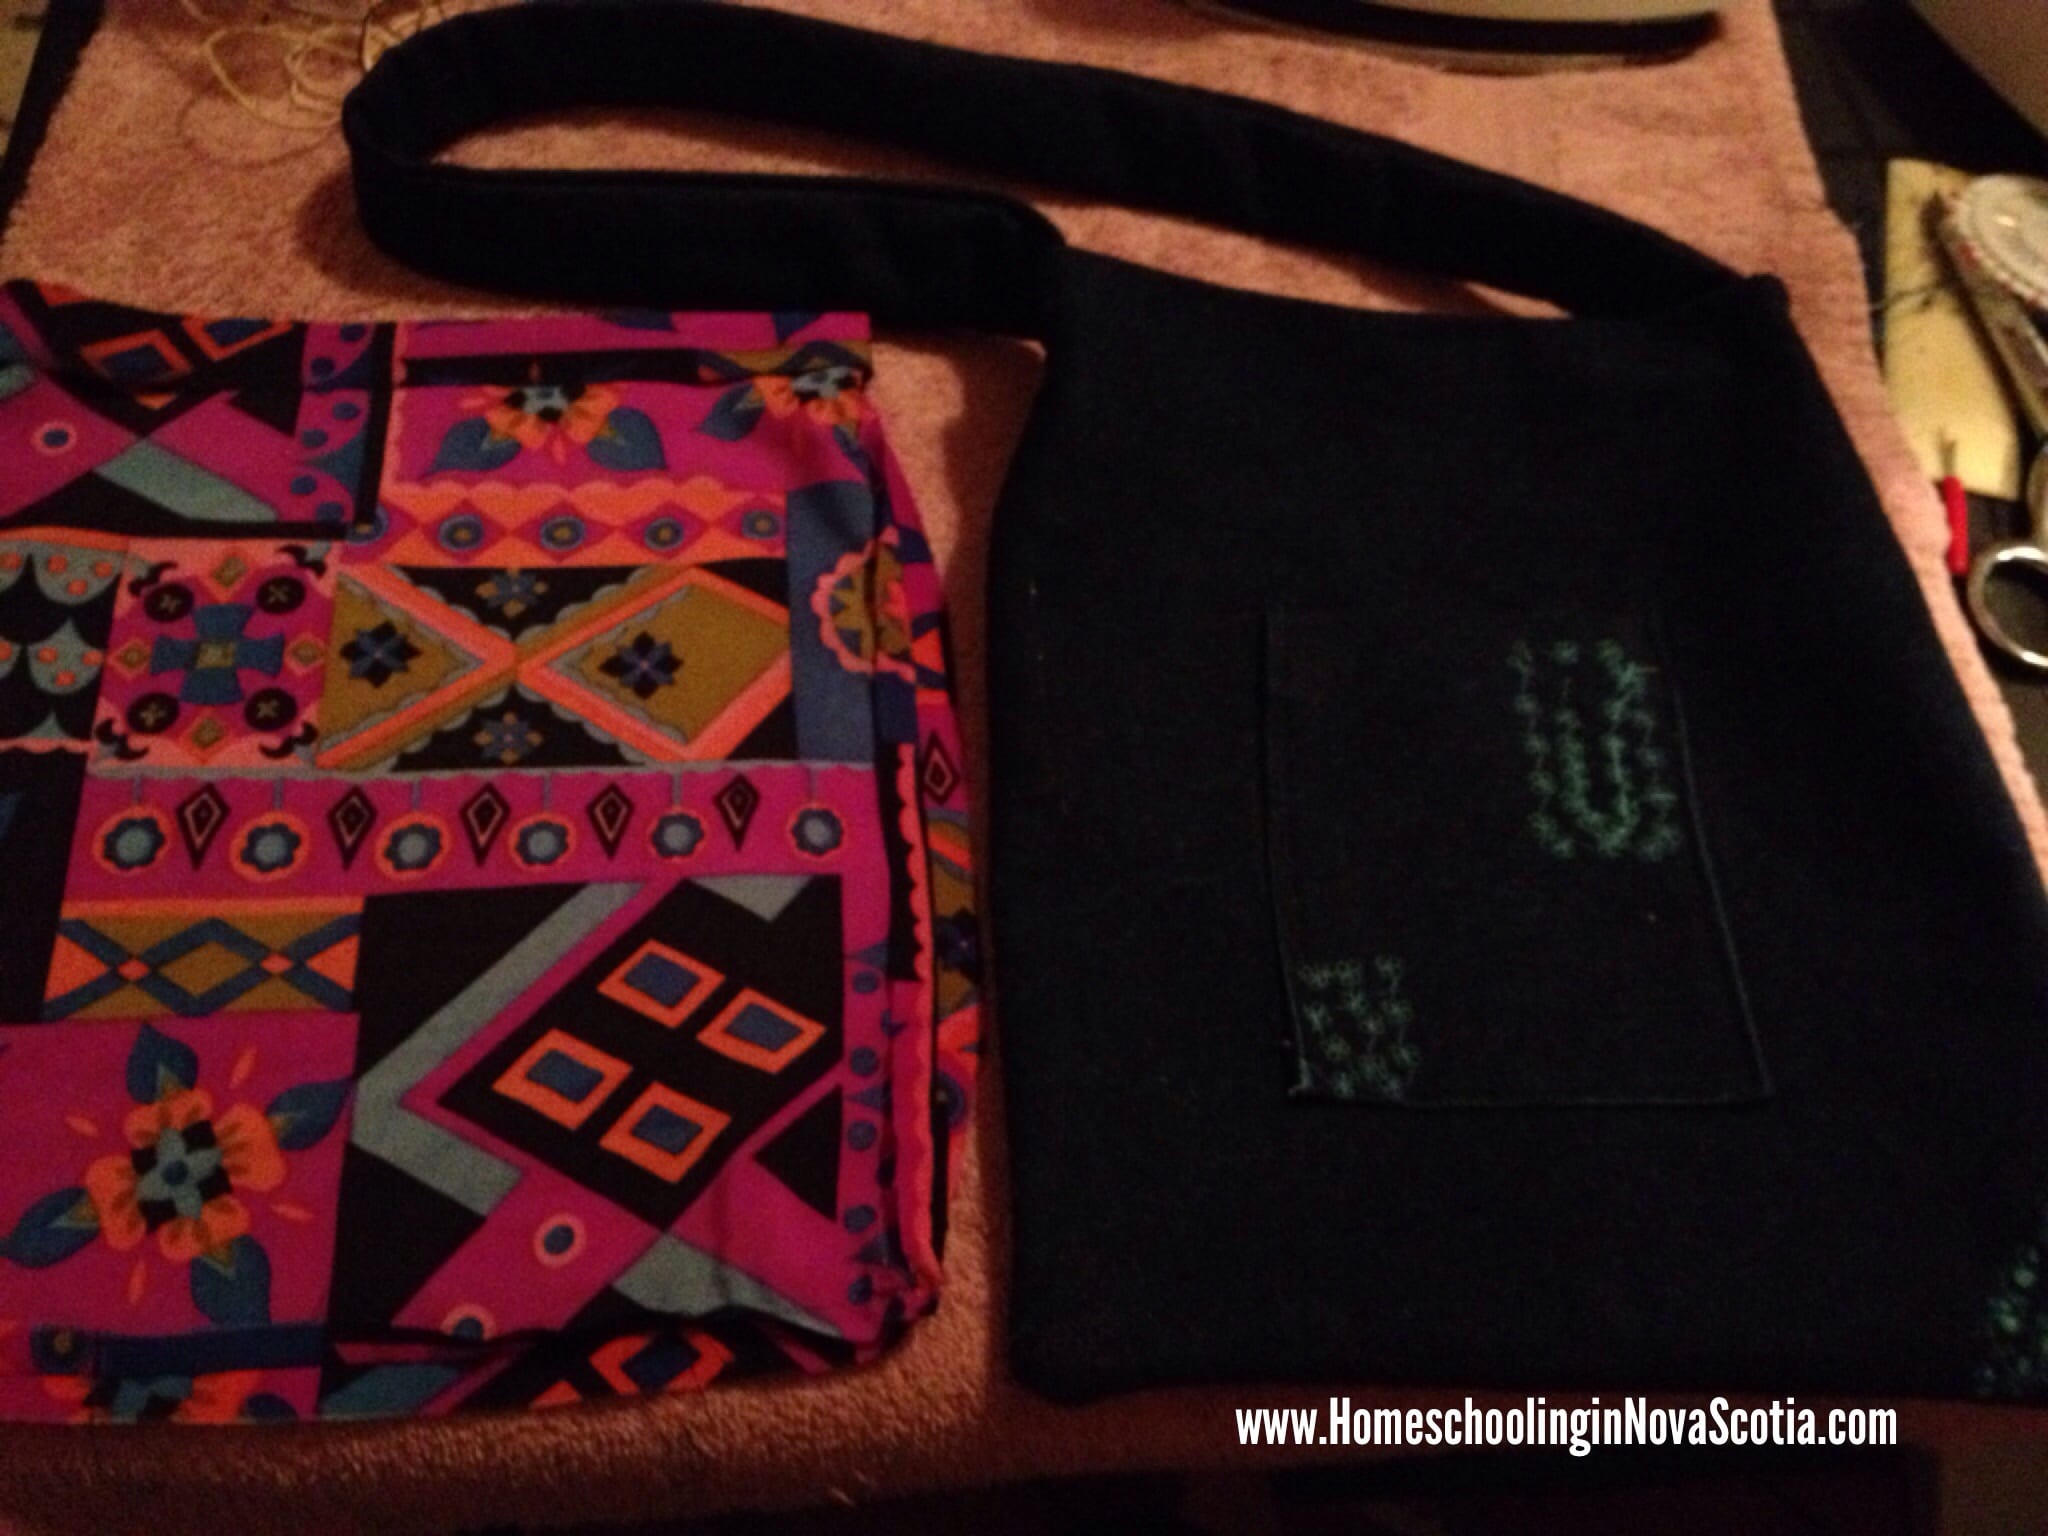
And here is the finished pocket! As you can see, my daughter also embellished the corners of the tote bag itself:

Then we just had to sew together the front and back of the tote and its lining. This went nice and quickly:
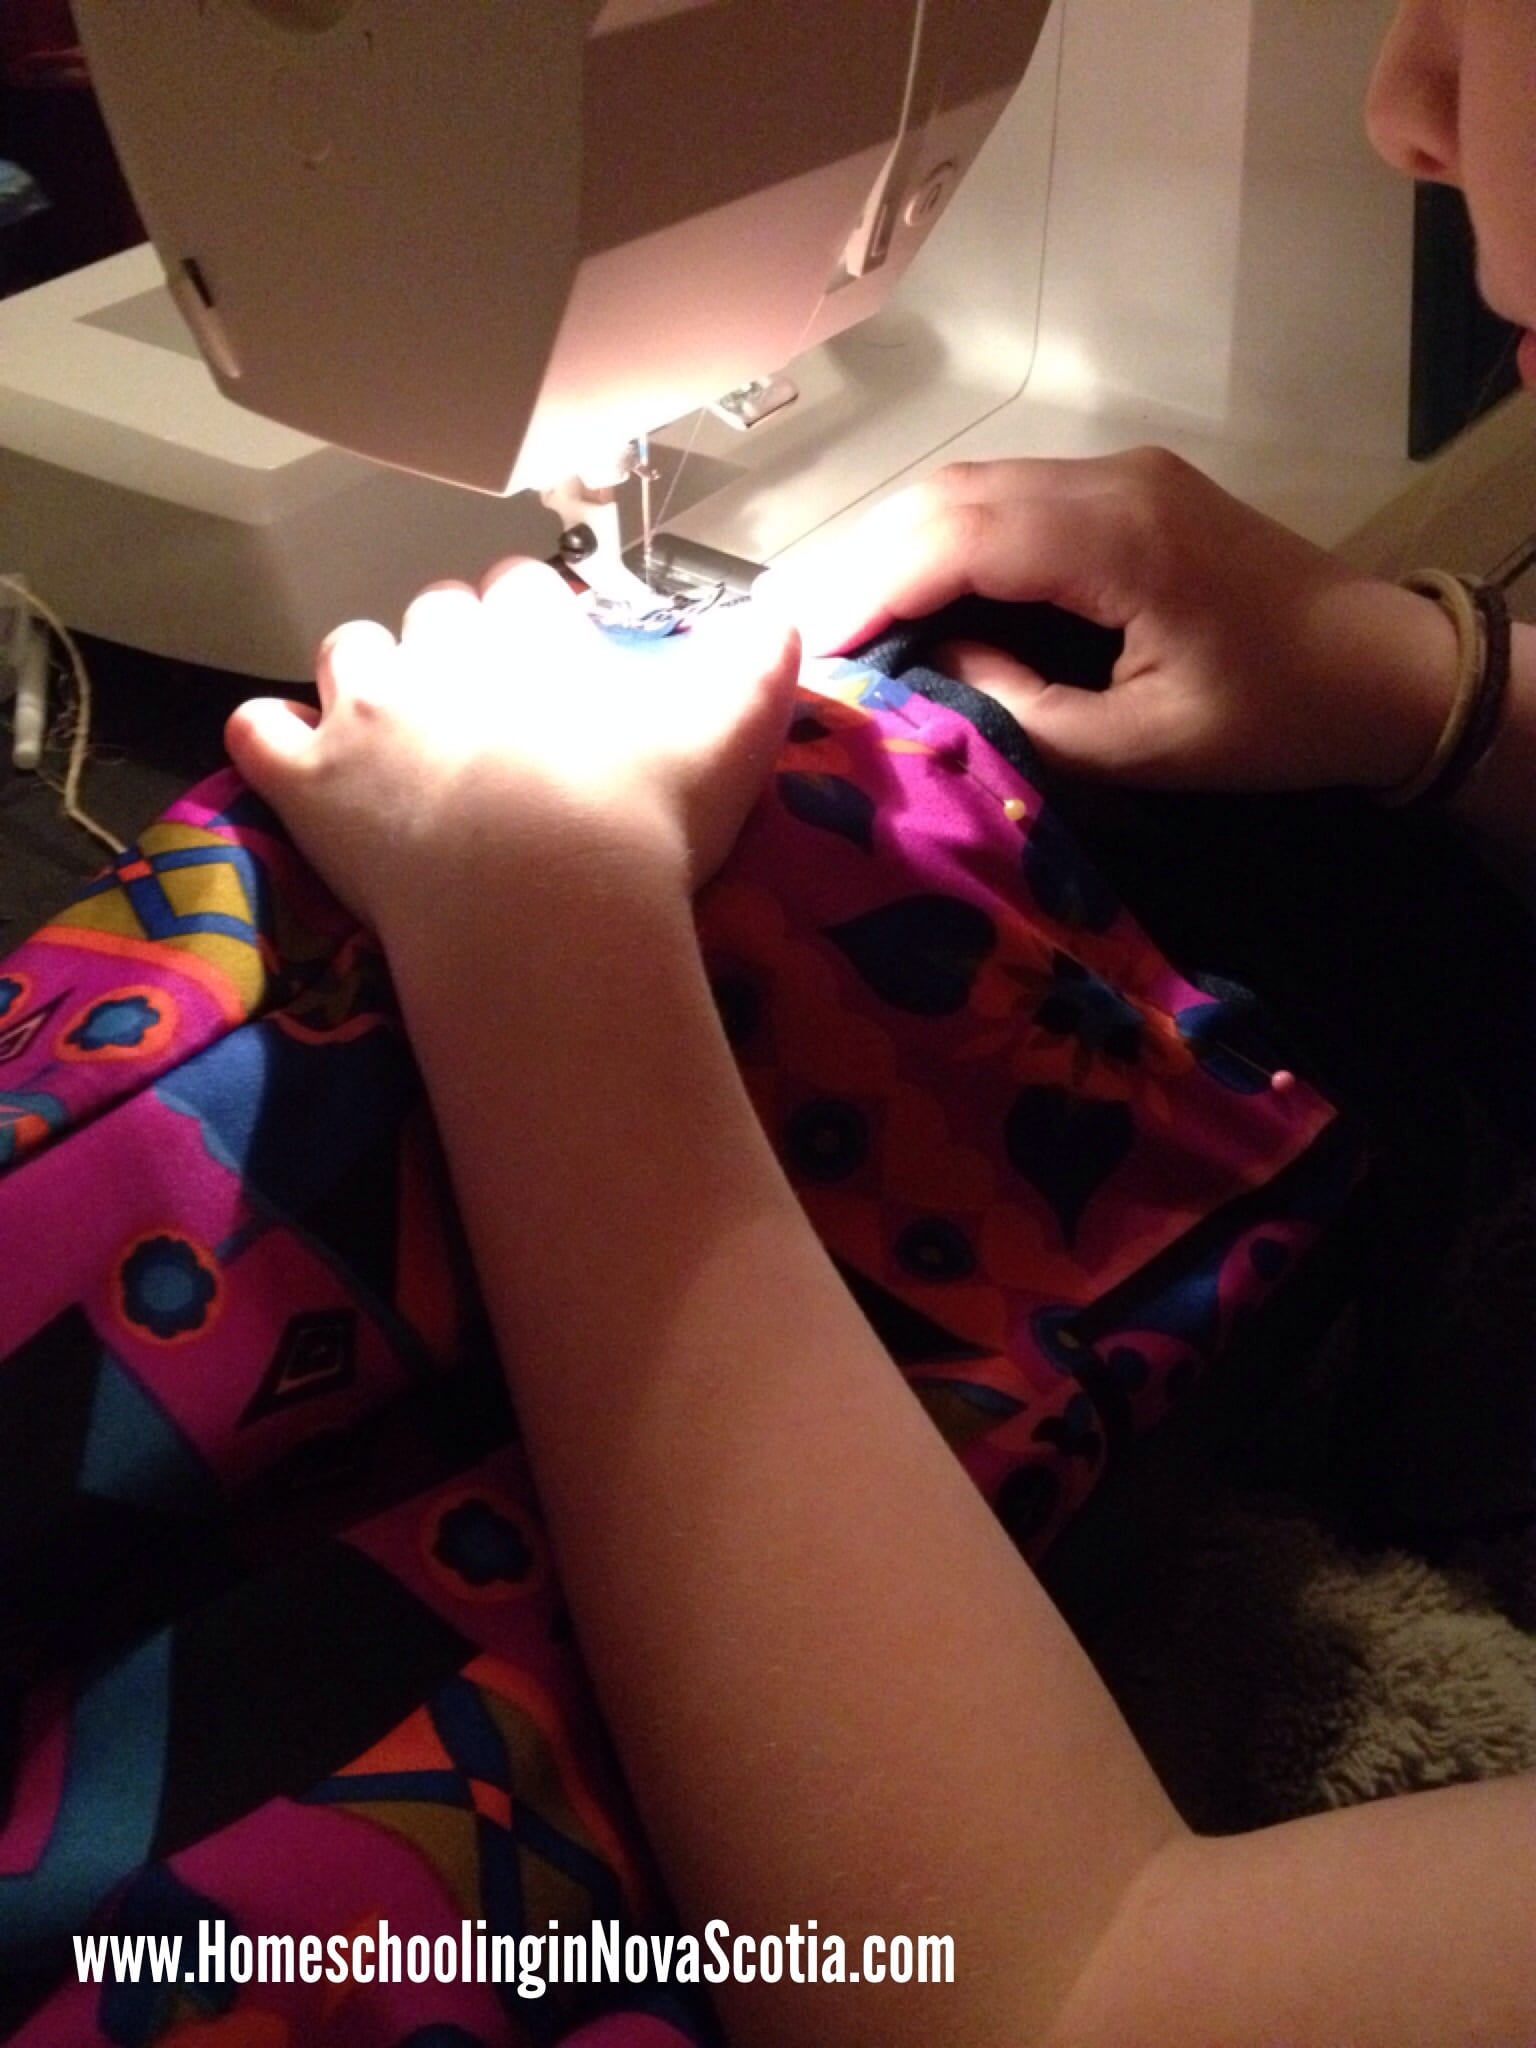
Here is my daughter sewing the lining into the tote bag. Almost done!
Here is my daughter modeling the finished tote bag:
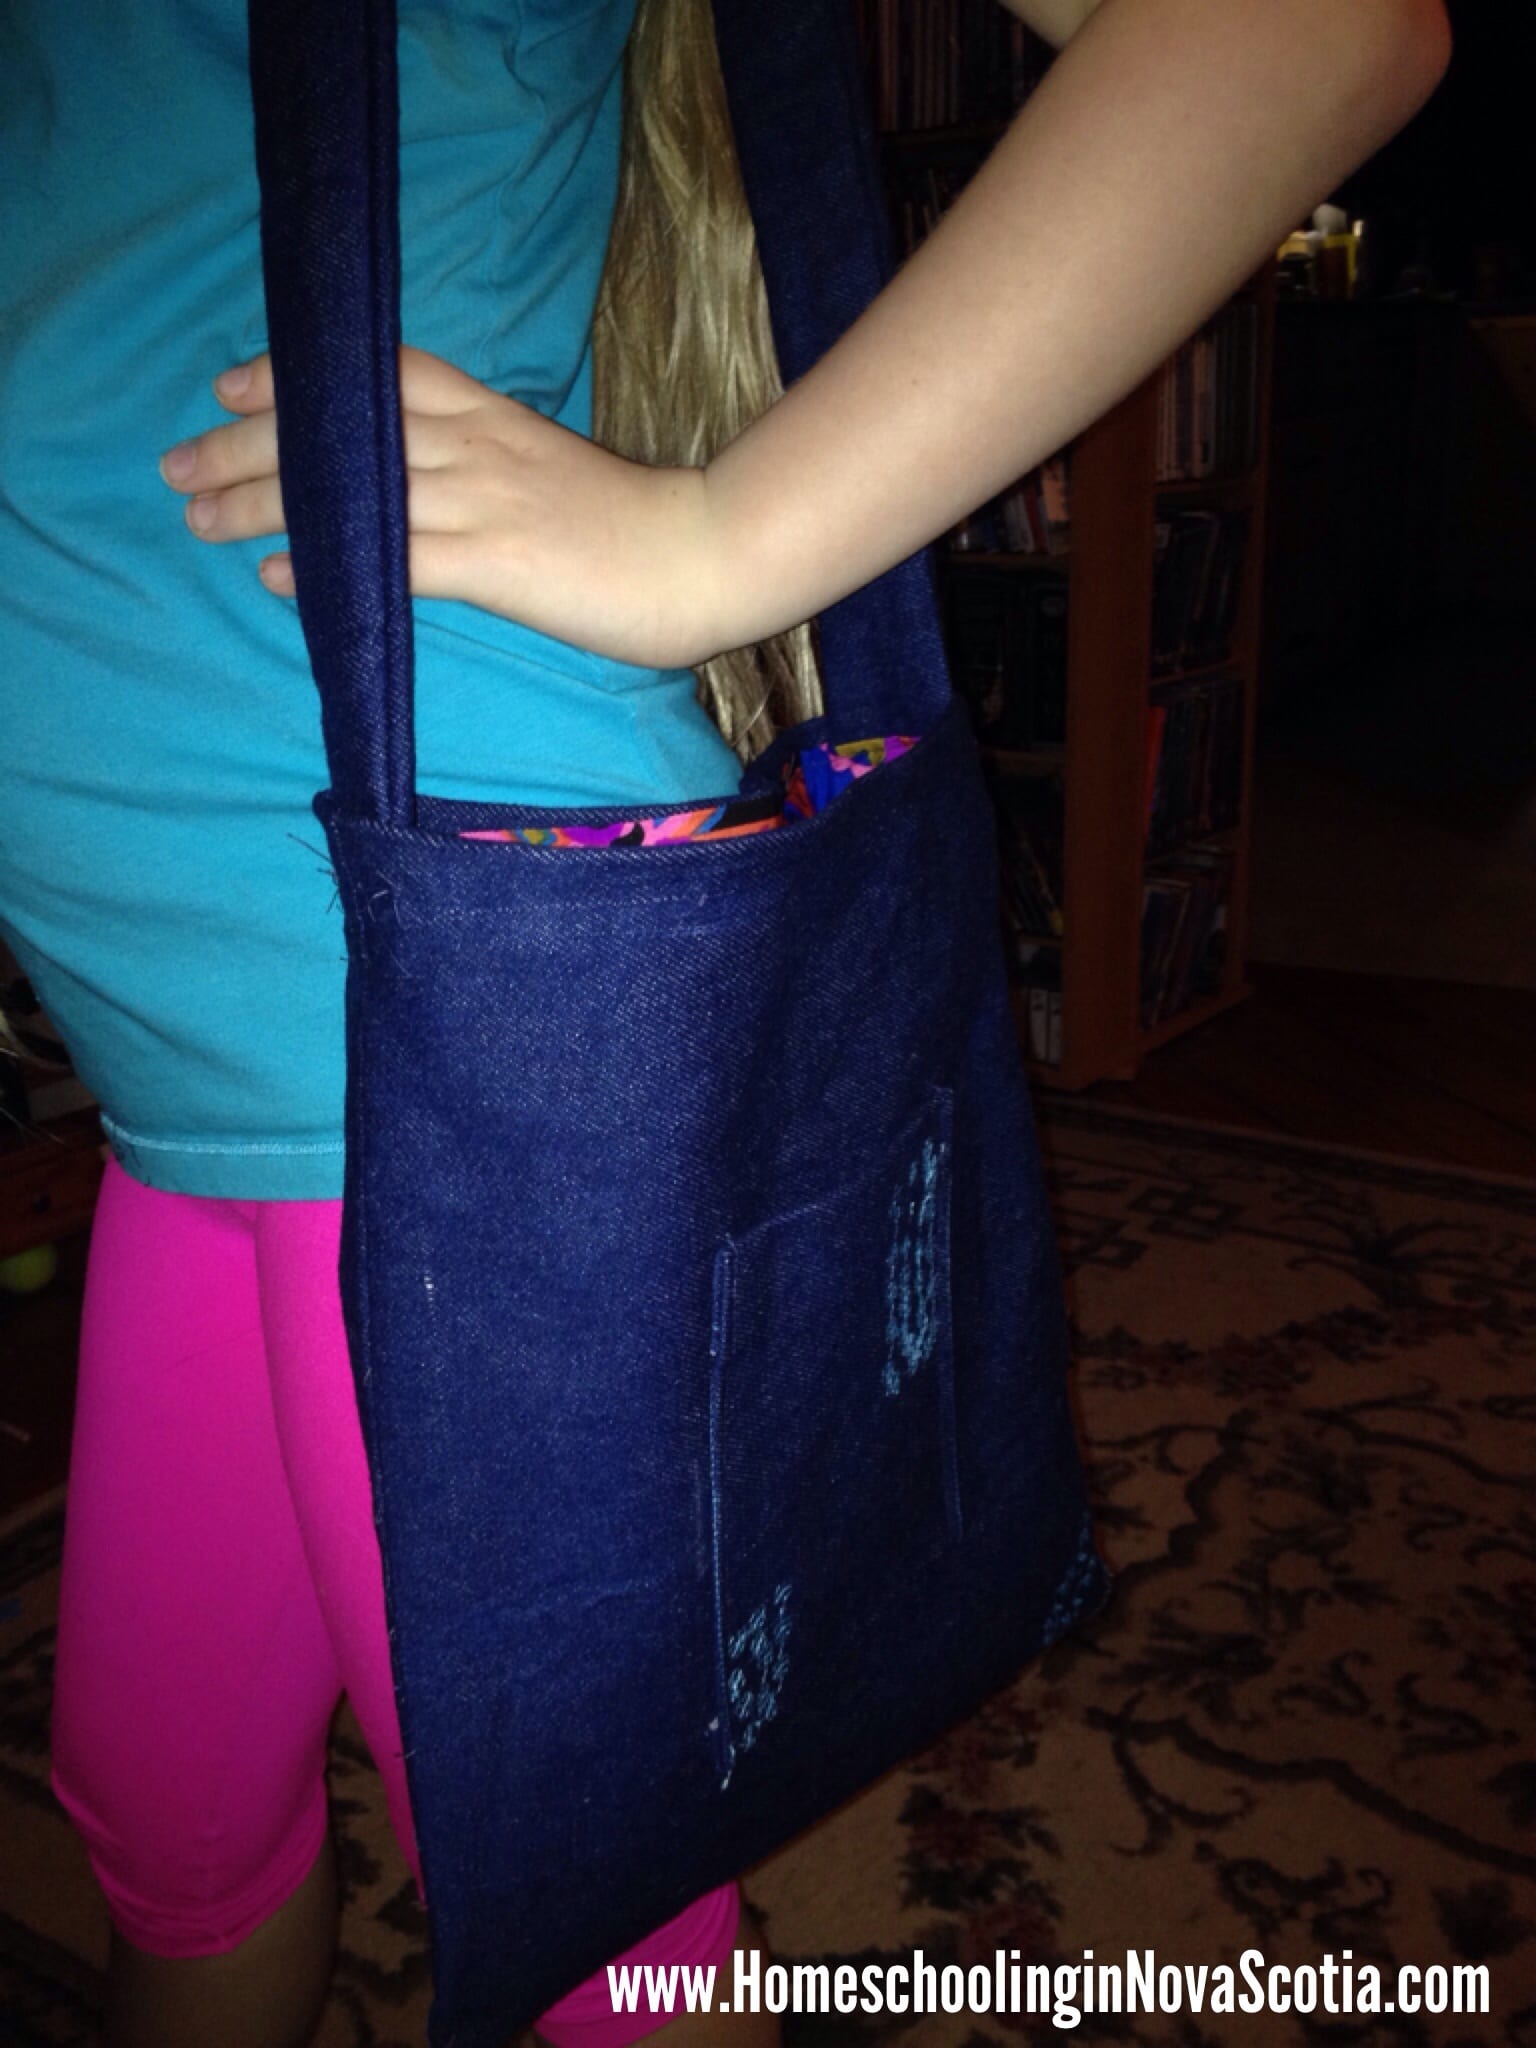
I love how great it looks with a hint of the bright colours of the lining showing. As I mentioned in the last post, we wouldn’t use that crazy fabric for anything else.
My daughter decided to give the finished tote bag to a friend for a birthday present. Here it is with a birthday card tucked in the pocket:
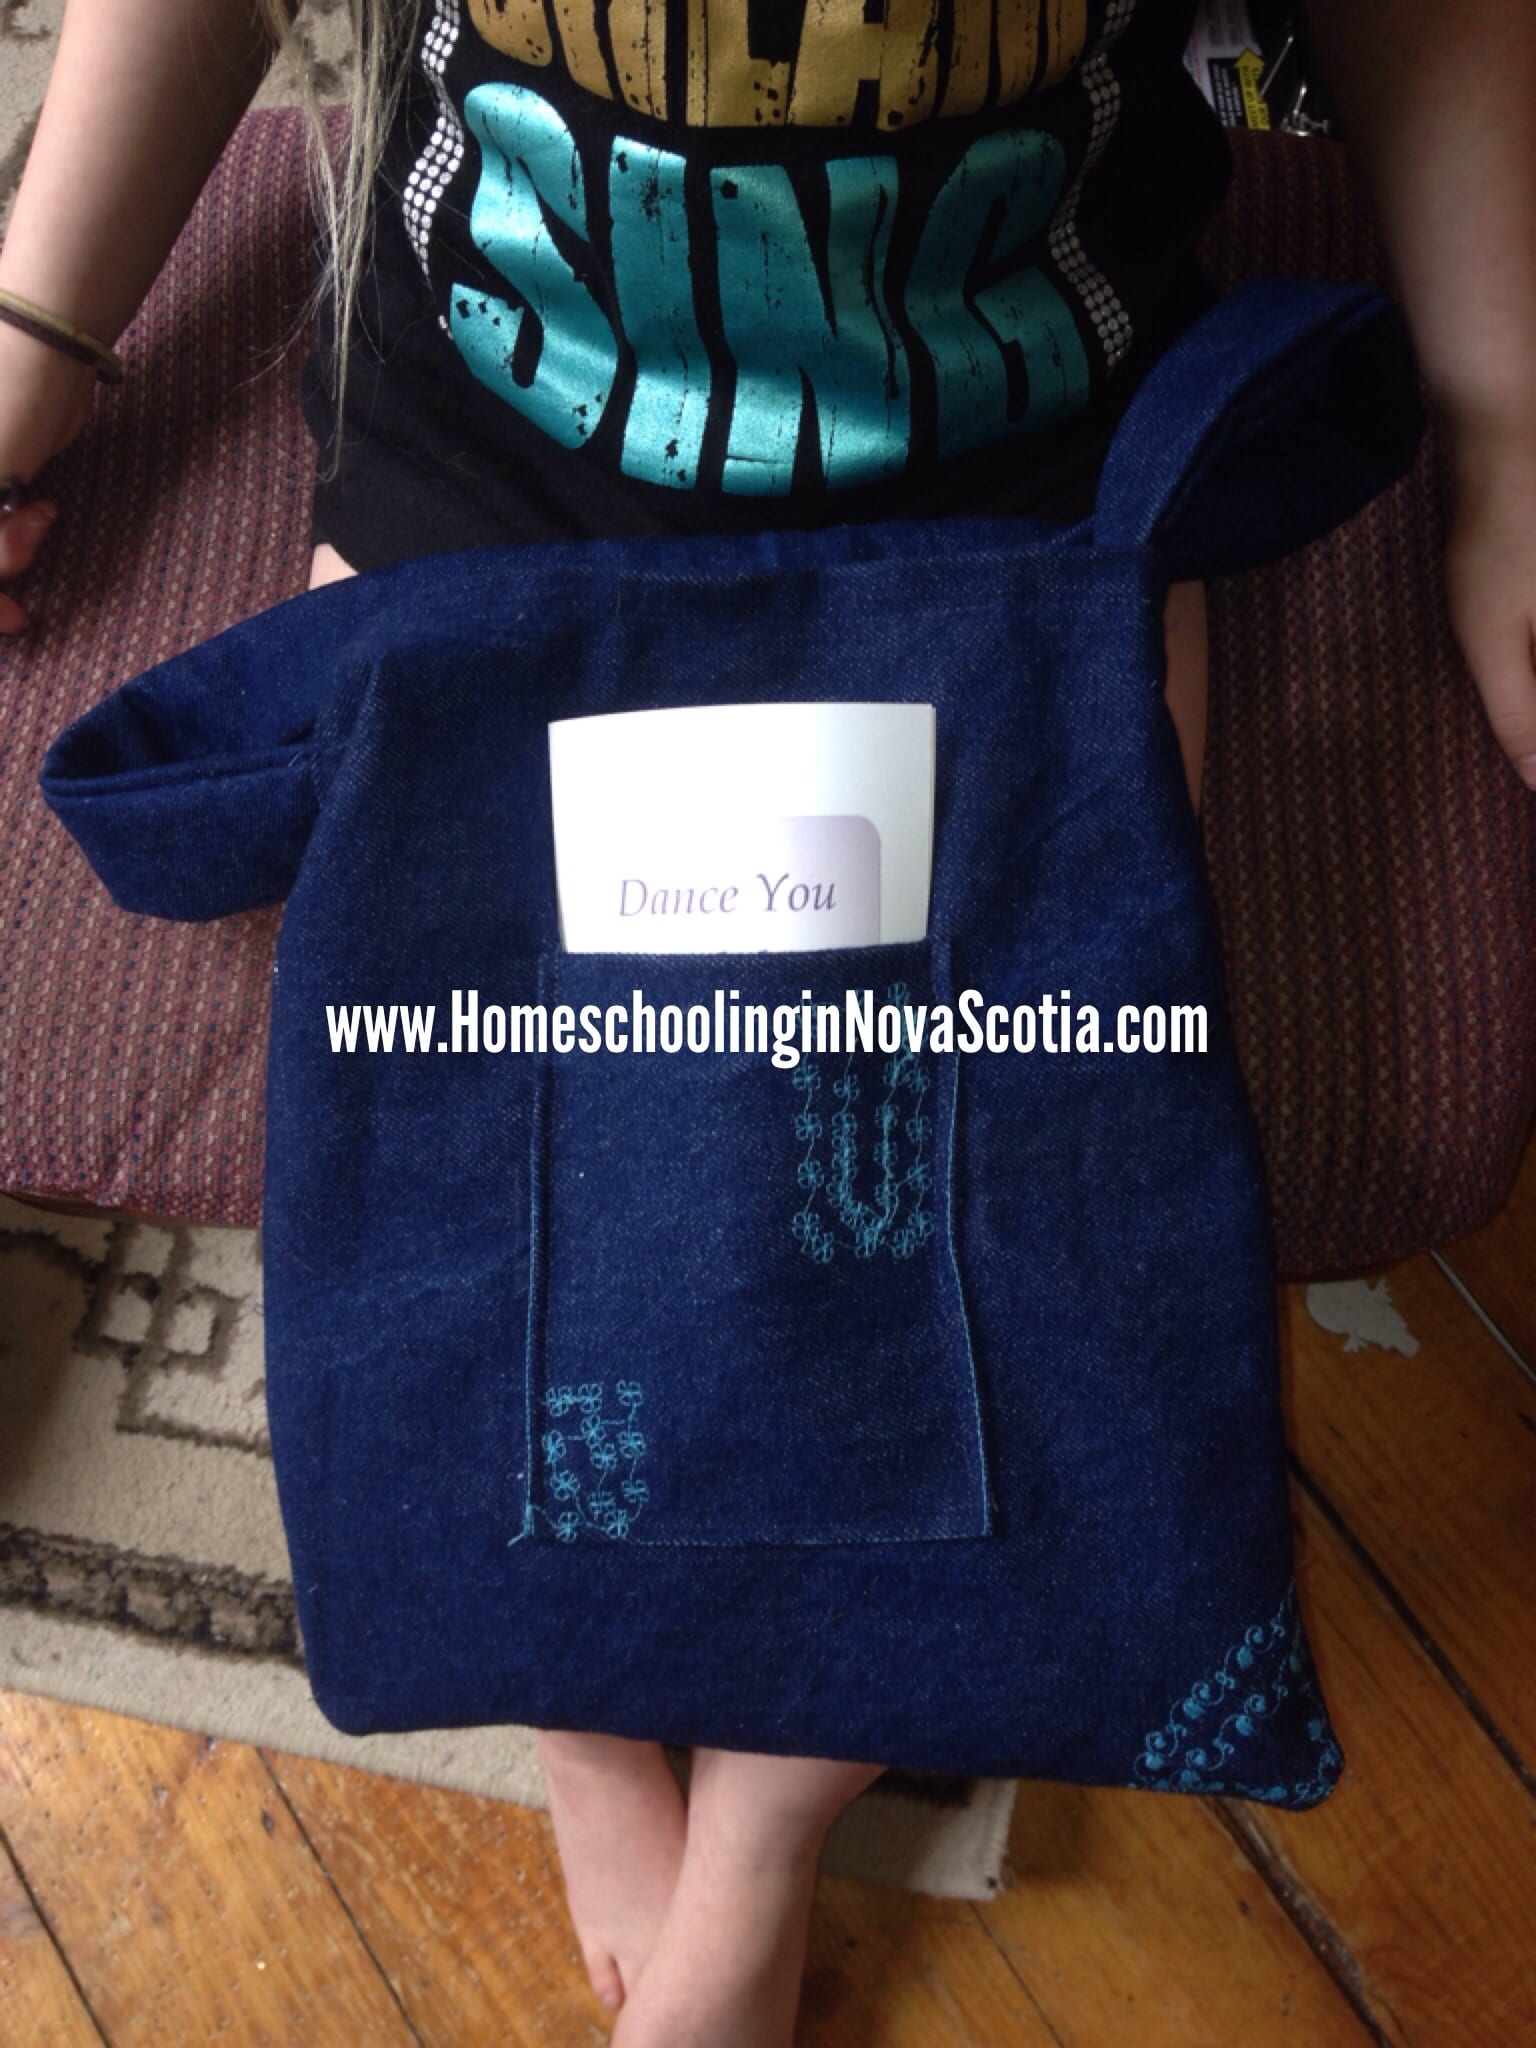
My daughter’s friend absolutely LOVED it! She was astonished that it was homemade. We are looking forward to many more mother-daughter sewing adventures!
Love, Luck &
Laughter,
Kimberly
